
When you look at a finished vacuum vessel, it might seem like just a simple metal container. But behind that polished exterior lies weeks of precision work, countless inspections, and a process where one tiny mistake can ruin everything. Let me walk you through what it really takes to create a leak-tight vacuum vessel.
Step 1: Getting the Parts Right
Every project starts with precision
components. Flanges, pipes, joints, base plates, and cover plates – each piece
must match the engineering drawings within strict tolerances.
This first step is critical because if
any part is out of specification, all the work that follows becomes
meaningless. We check every dimension carefully. Quality control here saves us
from disasters later. A flange that is off by just half a millimeter can make
the entire assembly unusable.
For this reason, we spend as much time
as needed on incoming inspection. No part moves to the next stage unless it is
perfect. This discipline is what separates successful projects from failed
ones.
Step 2: The Welding Process
2.1 Building the
Welding Fixtures
Once we have good parts, we move to
assembly and welding. This is where things get interesting. For seal welding
projects on vacuum vessels, we need special fixtures to hold everything in
place during welding. Designing these fixtures takes time because every vessel
has different requirements.
Here is the challenge: we often discover
problems only during actual welding. A fixture that looks perfect on paper
might make it hard to reach certain joints with the welding torch. Or the
fixture itself might have positioning errors – if the perpendicularity or
alignment is off by even a small amount, the whole assembly can go wrong.
The frustrating part is that many
fixtures can only be used once. When we change the design, we need new
fixtures. During new product development, this trial-and-error process eats up
a lot of time. But it is necessary – we learn by doing. Each failed fixture
teaches us something valuable for the next attempt.
2.2 The Actual
Welding Work
Seal welding demands high quality
standards. Welders must carefully read the drawings and follow every
specification:
·
Inside or outside welding – depends on the vessel design and
accessibility
·
Fillet welds or butt welds – each has different strength
characteristics and penetration depths
·
Full seams or intermittent welding – based on
structural requirements and thermal stress considerations
·
Sealing surfaces to protect – these critical areas must stay
untouched and clean
One wrong move and it is over. You
cannot fix a mistake once the weld is made. The contaminated parts cannot be
reused. This is why every step requires extreme care and focus. A moment of
carelessness can scrap weeks of work on the vacuum vessel.
The welding operators need to be skilled
readers of technical drawings and master welders at the same time. They must
understand not just how to weld, but why each weld is placed where it is. This
deeper understanding helps them anticipate problems before they happen.
Step 3: HeliumLeak Testing
After welding comes the moment of truth
– the helium leak test. This is where we find out if all that careful work paid
off.
3.1 Setting Up
the Test Equipment
First, we need proper testing tools.
Helium leak detection requires:
·
A helium leak detector machine
·
A cylinder of helium gas
·
Various fixtures: blind plates, knife-edge flange seals,
rubber gaskets, clamps, screws, plugs, and fittings
Different vacuum vessels need different
test setups. We create temporary sealing systems to evacuate the vessel. The
test is performed at vacuum levels of 1.0×10⁻⁹ mbar·L/s – that is an extremely
sensitive measurement, capable of finding leaks that are invisible to the naked
eye.
The basic principle is simple: we pull a
vacuum inside the vessel, then spray helium along the welded seams. If the
vacuum reading changes, helium got inside – meaning there is a leak somewhere.
This method is so sensitive that it can detect a leak as small as a few
molecules per second.
3.2 Finding and
Fixing Leaks
Leak testing rarely goes perfectly the
first time. When we detect a leak, we need to investigate:
·
Leak in the weld itself – We can repair this by adding
more weld material over the problem area. This is usually the easiest fix.
·
Leak in the test fixture – Sometimes the problem is not the
vessel but our testing setup. We then modify the fixtures to create proper
seals. This requires going back to the workbench and redesigning parts.
·
Hard-to-find leaks – For stubborn cases, we might use
a water submersion test with positive pressure to visually spot where bubbles
appear. This gives us a clear indication of the leak location.
Each leak teaches us something. Maybe we
need to adjust our welding technique. Maybe the fixture design needs
improvement. Every problem is a learning opportunity for the next vacuum vessel
project.
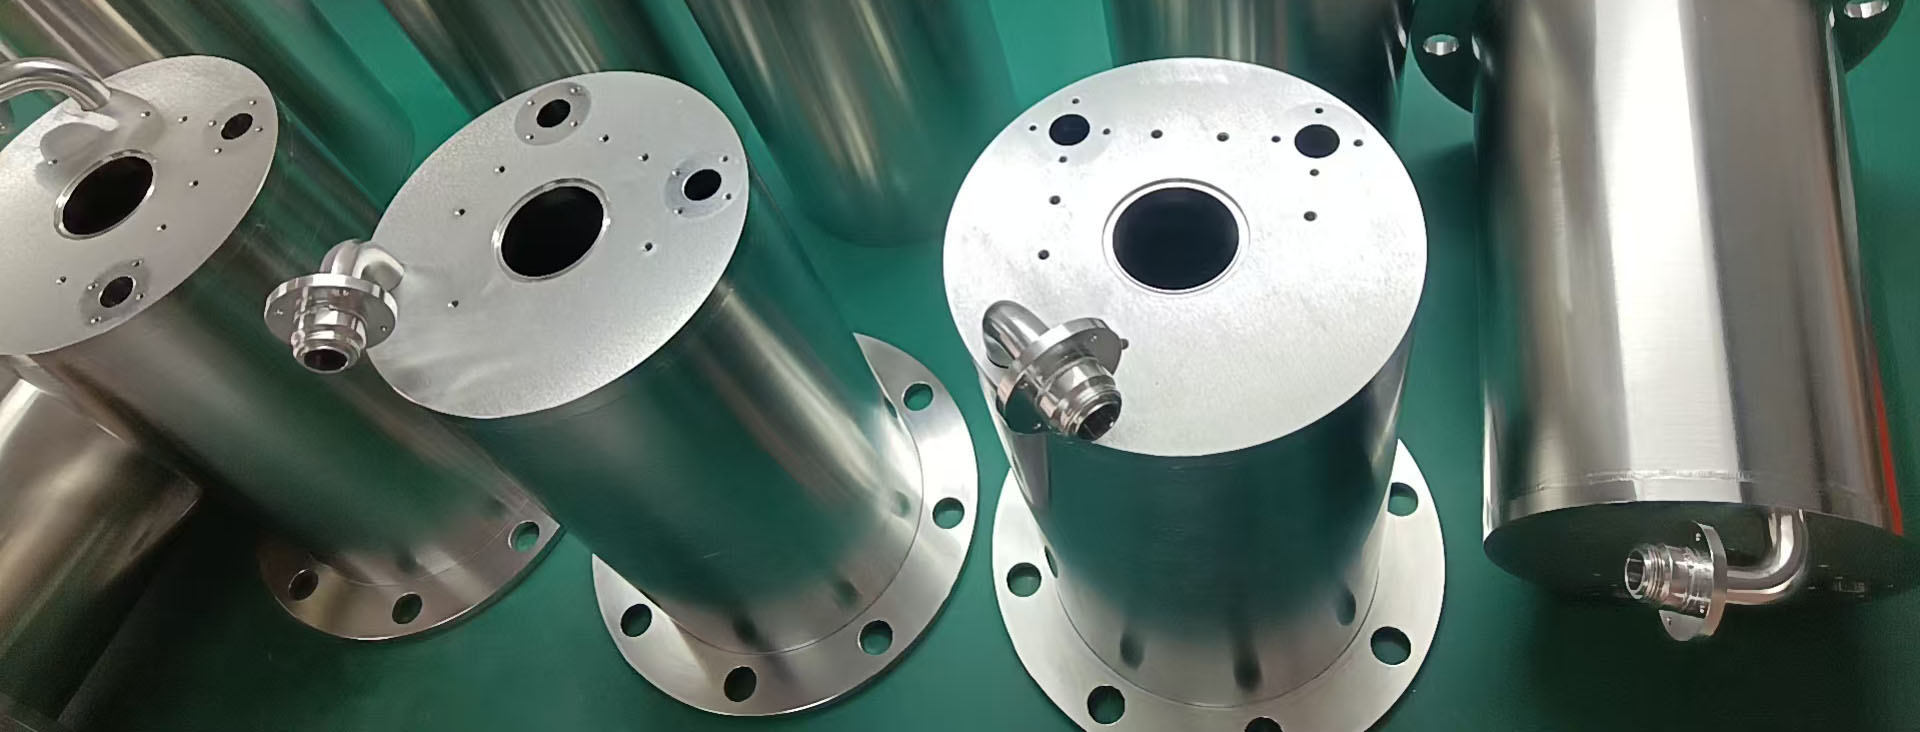
Why Seal Welding Matters for Vacuum Vessels
A complete seal welding project – from
machining parts to final helium testing – usually takes over a month. It is a
journey that demands:
·
Precision in manufacturing – every part must be within
tolerance
·
Patience in fixture design – expect multiple iterations
·
Skill in welding – operators must be both
knowledgeable and steady-handed
·
Thoroughness in testing – no shortcut can replace careful
verification
Here is the hard truth: even the most
beautiful vacuum vessel is worthless if it has even a microscopic leak.
Appearance does not matter for vacuum performance. Only the helium leak test
results count. A single pinhole leak can render an entire vessel unusable for
its intended purpose.
That is why we take our time at every
stage. We check parts multiple times. We design fixtures carefully. We weld
deliberately. We test thoroughly. This methodical approach is the only way to
achieve reliable, leak-tight seal welding results for vacuum vessels.
Final Thoughts
For anyone working in vacuum technology,
remember this: the success of your project depends on doing simple things
perfectly, every single time. There are no shortcuts in seal welding – only
careful work and constant verification.
The process may seem slow. A month for
one vacuum vessel might feel like too long. But when you consider the cost of
failure – wasted materials, lost time, and damaged reputation – the careful
approach is actually the faster path to success.
The next time you
see a vacuum vessel, think about the month of work, the careful measurements,
the welding skills, and the meticulous testing that went into making it truly
leak-free. That is the real story behind every successful seal welding project.
It is not just about joining metal – it is about building trust in every single
seam.
If you found this article helpful, be sure to check out my previous post : [Seal Welding 101: Why It's Critical for Vacuum Vessels] – where I cover the fundamental principles every engineer should know before starting any vacuum vessel project.
